Introduction to Starlink Cables
Starlink cables are essential components of the Starlink satellite internet system, designed to provide high-speed internet access in remote and rural areas. Understanding the types of cables and their functions can help users optimize their Starlink setup for the best performance.
Types of Starlink Cables
1. Power Cables
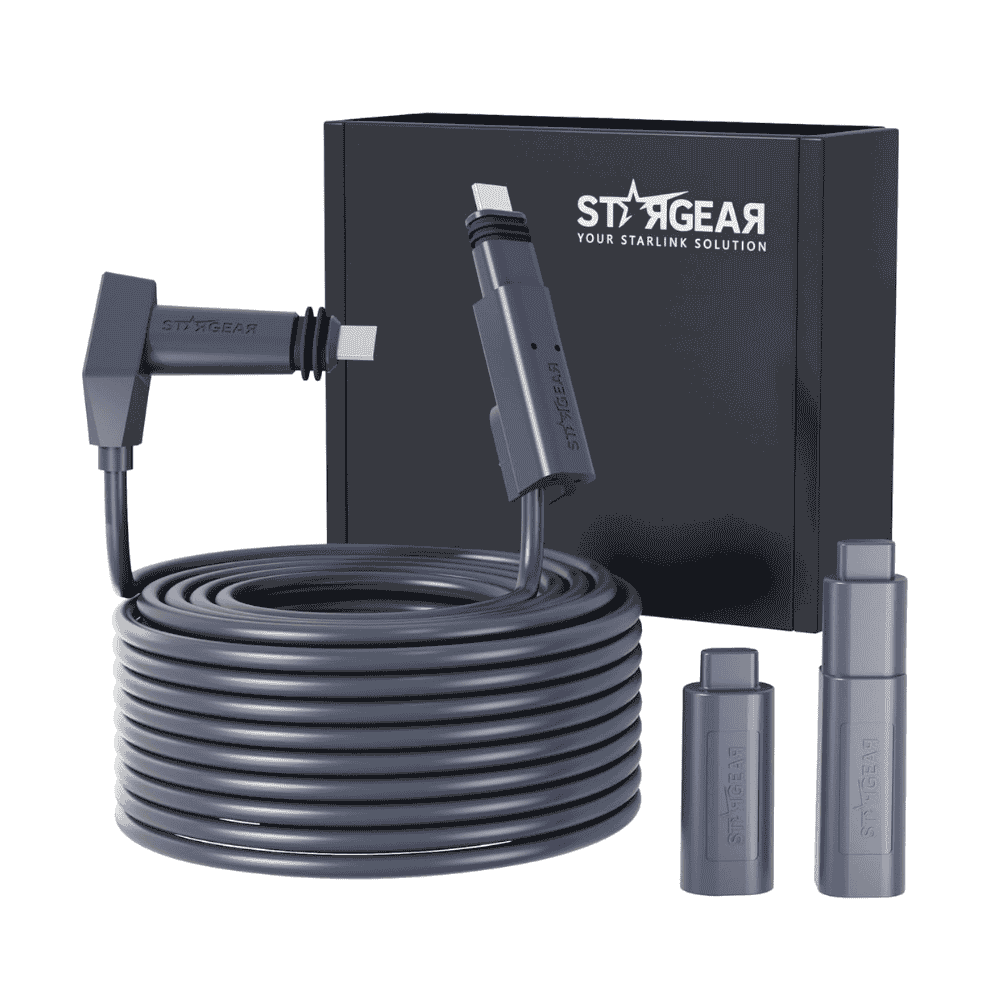
Starlink systems require reliable power sources to function effectively. The power cable connects the Starlink dish to a power outlet, ensuring consistent operation.
Specifications: Typically, these cables are designed to handle specific voltage requirements and are weather-resistant for outdoor use.
2. Ethernet Cables
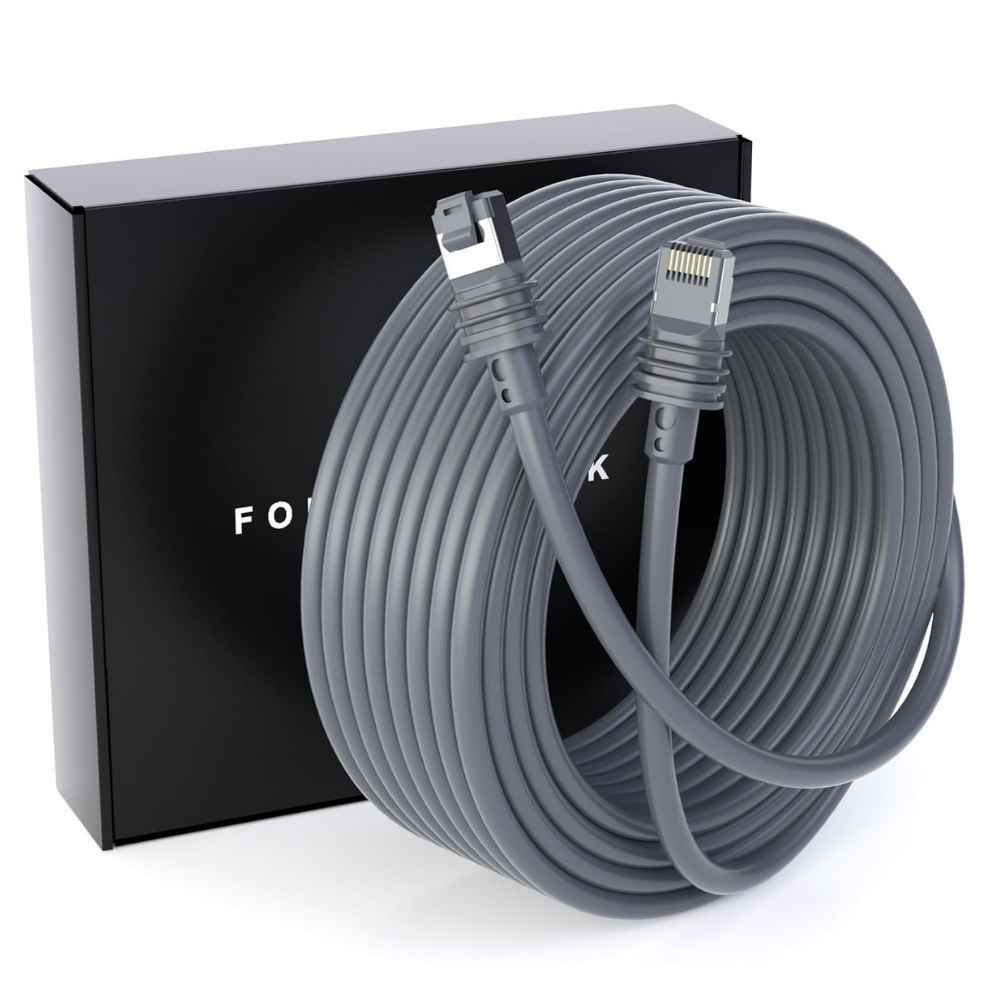
Ethernet cables can be used to connect the Starlink router to devices like computers, gaming consoles, or other network hardware.
Categories: Look for Cat5e or Cat6 cables for optimal performance, as they support higher data transfer rates, which is crucial for gaming or streaming.
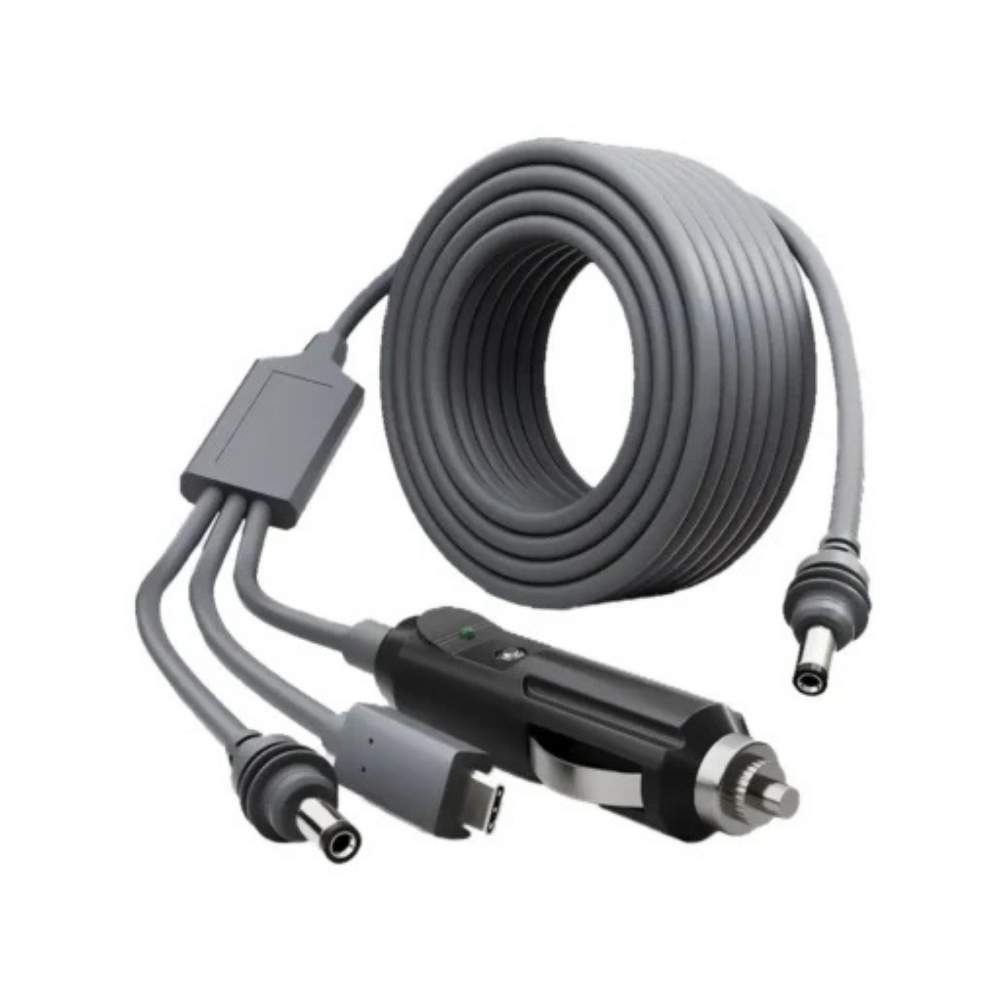
3. Extension Cables
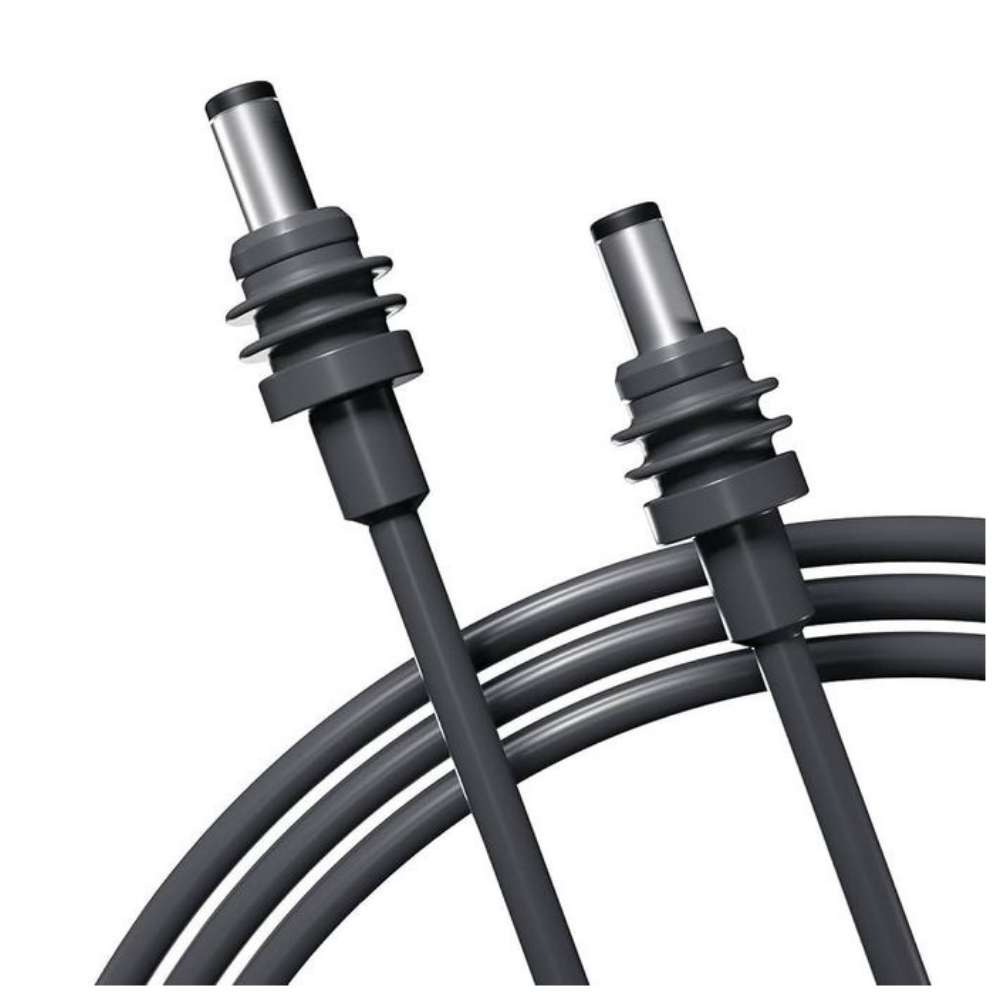
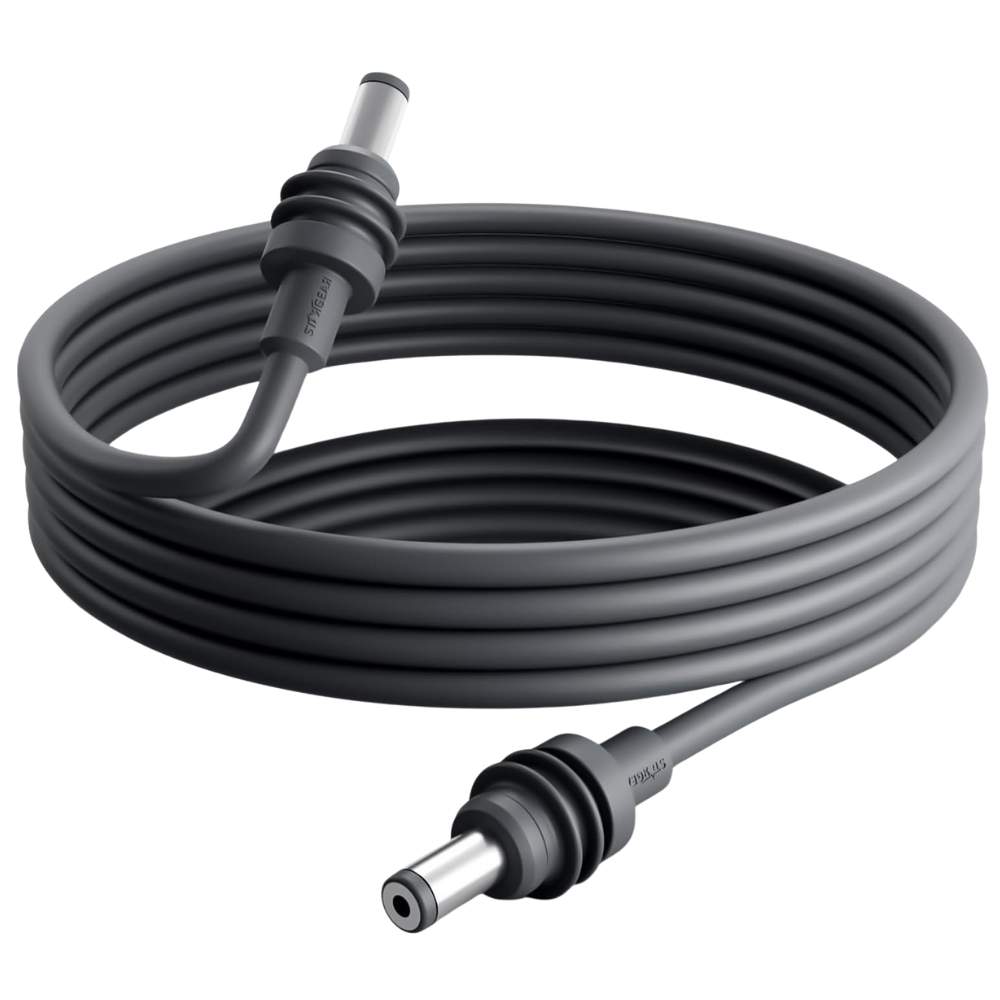
For users who need to place their Starlink dish in an optimal location for satellite reception, extension cables can be invaluable.
Use Cases: These cables allow for greater flexibility in positioning the dish while maintaining a connection to the router, enhancing signal quality.
Features to Consider
When selecting Starlink cables, consider these important features:
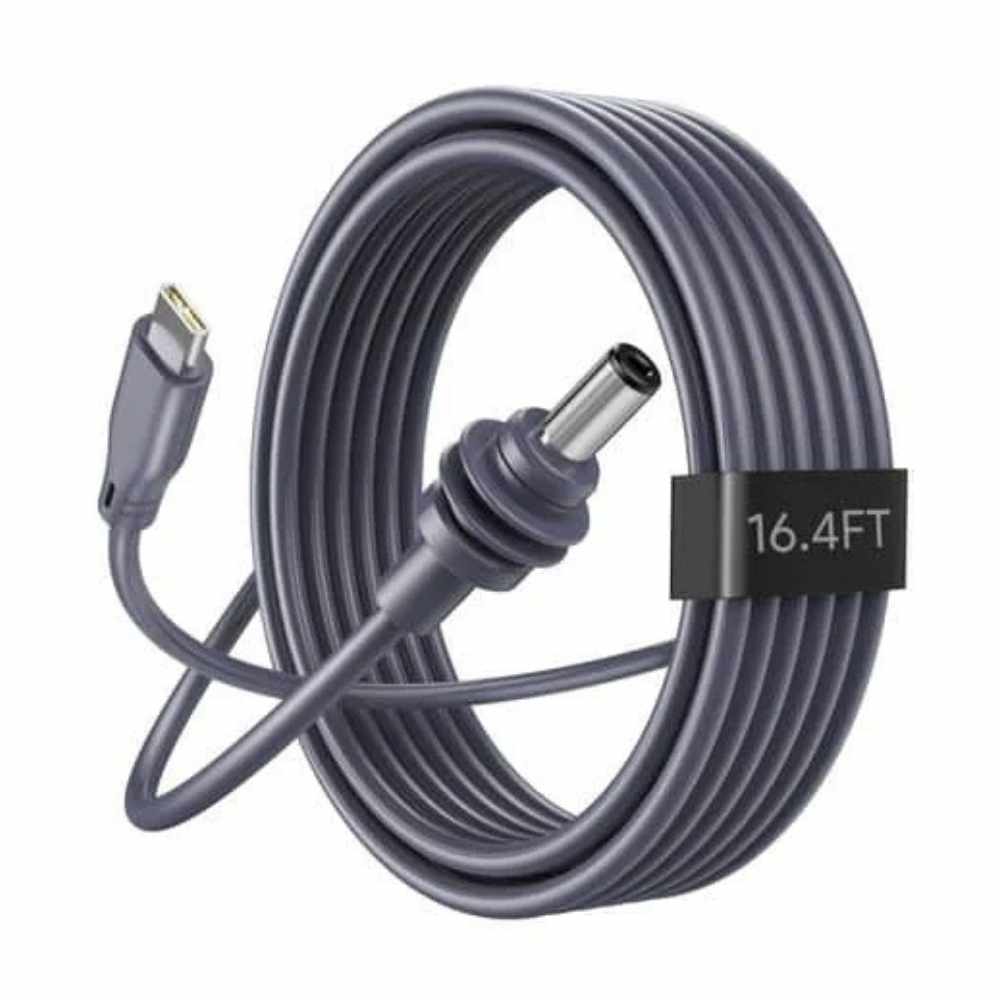
Length: Ensure the cable length is suitable for your setup, especially if you plan to place the dish far from the router.
Weather Resistance: If using cables outdoors, choose options that are durable and weatherproof to withstand environmental conditions.
Data Transfer Speed: For Ethernet cables, select a type that supports the required speed for your internet activities.
Conclusion
Understanding the various types of Starlink cables and their specific roles is crucial for optimizing your Starlink internet experience. By selecting the right cables for power, data, and flexibility, you can ensure a seamless and efficient connection.
Starlink, the satellite internet service from SpaceX, has gained significant attention for its ability to provide high-speed internet in remote and rural areas. Central to the Starlink experience is the use of various cables that facilitate connectivity between the satellite dish and your devices. This guide will explore the different types of Starlink cables, their functions, and tips for ensuring optimal performance.
Types of Starlink Cables
Starlink’s setup requires specific cables for effective communication and power transfer. Here are the main types of cables involved:
1. Power Cable
The power cable connects the Starlink dish (also known as the User Terminal) to the power supply. This cable is essential for providing electricity to the dish, enabling it to communicate with the satellites.
Features: The power cable is weather-resistant, designed for outdoor use, and typically measures around 75 feet (22 meters).
Installation Tip: Ensure that the power cable is properly secured and protected from extreme weather to avoid damage.
2. Ethernet Cable
An Ethernet cable connects the Starlink router to your devices, providing a reliable and high-speed internet connection. While Starlink systems typically include a Wi-Fi router, many users opt for a wired connection to enhance stability.
Benefits: Using an Ethernet cable reduces latency and provides faster speeds compared to Wi-Fi connections.
Length Options: Ethernet cables come in various lengths, allowing for flexible placement of your devices.
3. Extension Cable
For users who need to position their Starlink dish further from the house or power source, extension cables are available. These cables can increase the distance between the dish and the power supply or router.
Important Note: When using extension cables, ensure that they are compatible with Starlink's requirements to prevent signal loss.
Recommendation: Limit the use of extension cables to maintain optimal performance.
Key Considerations for Starlink Cables
When setting up your Starlink system, consider the following factors regarding cables:
1. Cable Quality
Investing in high-quality cables is essential for maintaining signal integrity and ensuring long-term reliability. Look for cables that are weather-resistant and rated for outdoor use.
2. Length Requirements
Evaluate the distance between your Starlink dish, power source, and router. Measure carefully to ensure you purchase the appropriate length of cable, as excessive lengths can lead to signal degradation.
3. Weather Resistance
Since the Starlink dish is installed outdoors, ensure that all cables are rated for outdoor use and can withstand harsh weather conditions, including rain, snow, and UV exposure.
4. Compatibility
If you’re considering using third-party cables, ensure they are compatible with the Starlink system. Using incompatible cables can lead to performance issues or damage.
Installation Tips
Here are some tips for installing your Starlink cables effectively:
Plan Your Layout: Before installation, plan the layout of your system. Determine the optimal location for the dish to ensure a clear view of the sky while minimizing cable lengths.
Secure Connections: Make sure all connections are tight and secure to prevent signal loss. Use weatherproof connectors where necessary.
Protect Against the Elements: Use cable conduits or protective coverings for any outdoor cables to shield them from physical damage and environmental factors.
Test Your Setup: After installation, run speed tests to ensure your setup is performing as expected. Check the signal strength and make adjustments if necessary.
Conclusion
Starlink cables are a crucial component of the Starlink satellite internet system, enabling reliable connectivity in remote areas. By understanding the types of cables available and considering key factors such as quality, length, and weather resistance, you can set up your Starlink system for optimal performance. With the right cables and proper installation, you’ll be well on your way to enjoying high-speed internet access, no matter where you are. Embrace the future of connectivity with Starlink, and make the most of your online experience!